How To Choose The RIGHT Diamond Engagement Ring
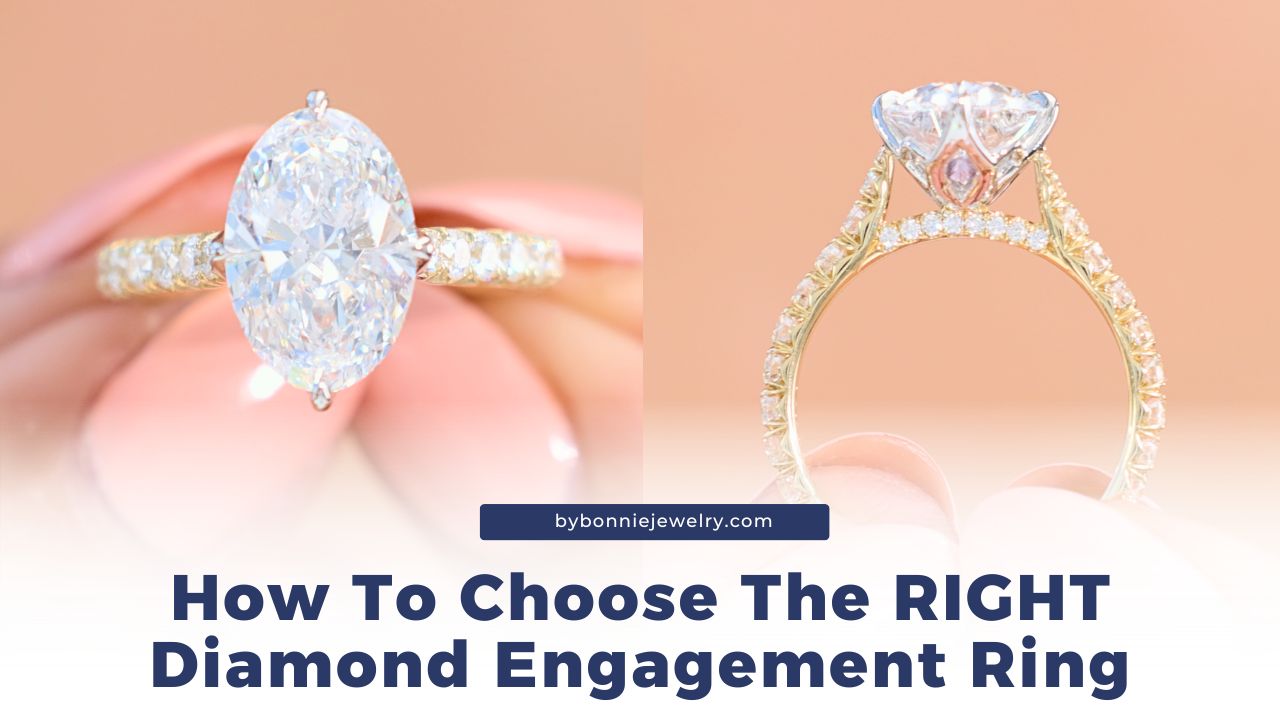
Welcome back to another By Bonnie blog, where we dive into all things diamonds! Today’s blog is extra special because we’re telling the love story of my clients, Jayshree and Dakota. I know so many of you often ask, “Bonnie, what’s the real process of working with you to create the perfect engagement ring?” Well, today, you’re in for a treat!
I’m breaking down the entire journey, step-by-step, so grab your pen, paper, iPhone—whatever you use for notes—and follow along. Dakota and I went through the whole magical process, and we can't wait to share it with you. And of course, who doesn’t love a good love story?
GelxDaddy’s Background Story
Here’s a bit of background on my wonderful clients: Jayshree has been a devoted follower of mine since the days when I had just 1,000 Instagram followers. She’s been dreaming of a By Bonnie ring for ages, with all her inspiration pinned and ready. So, when Dakota, her partner, reached out to me and revealed they were an influencer couple, I was thrilled—what a fantastic opportunity!
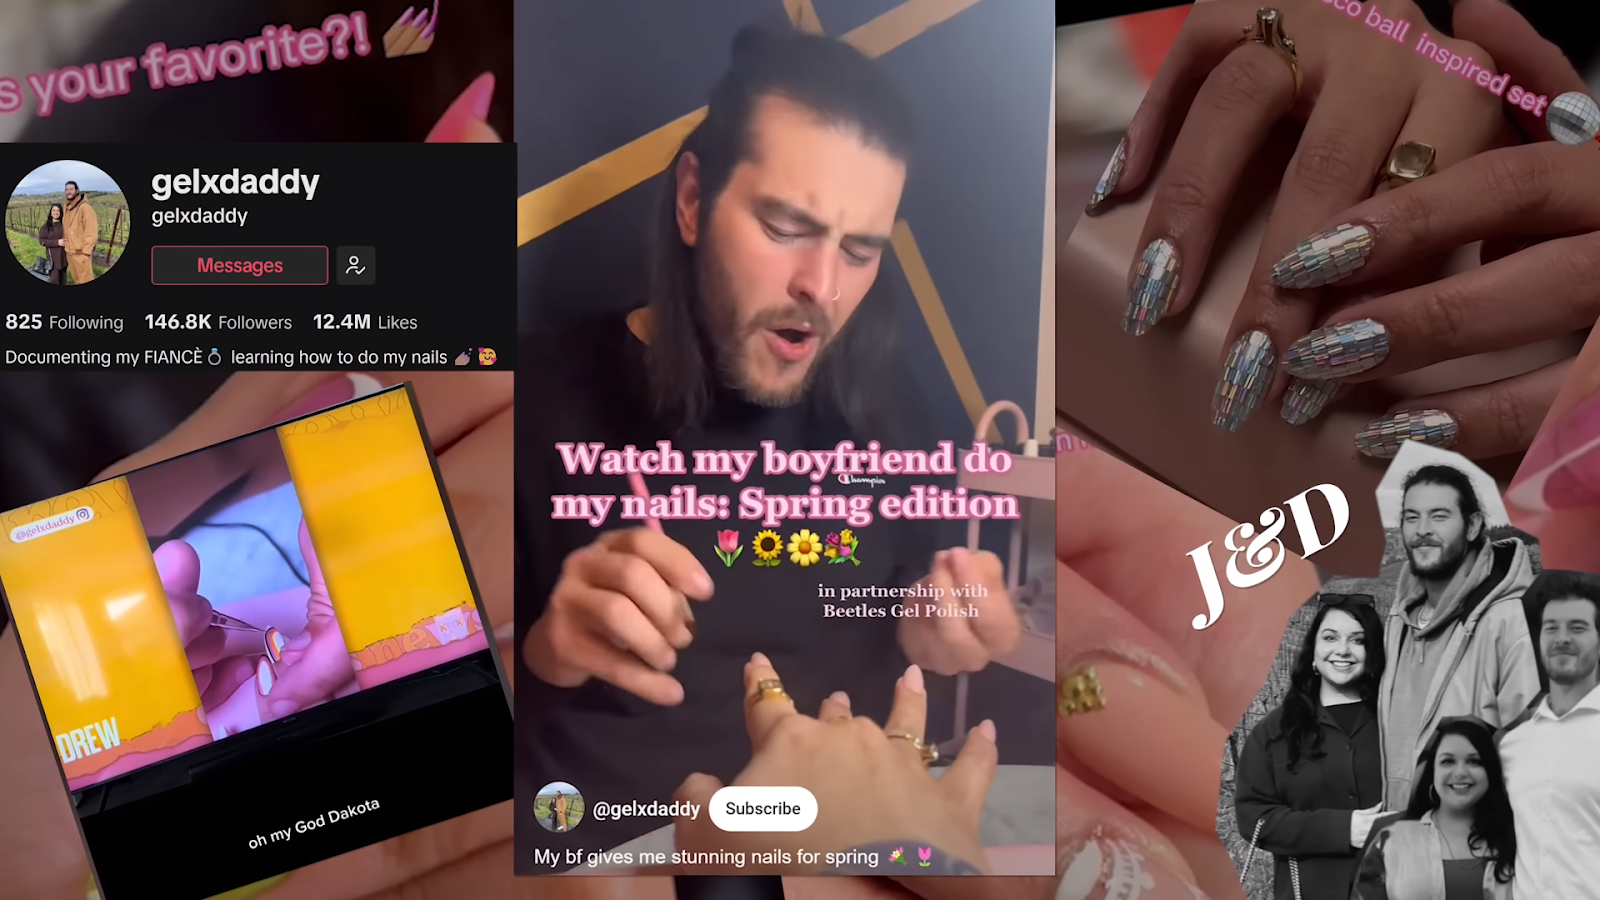

Their love story is as sweet as it gets. They were trying to save money, just like any couple starting out. Jayshree decided to skip salon visits to save on expenses, and Dakota learned how to do her nails himself. Isn’t that just the most romantic thing? When I heard their story, I knew I had to work with them.
Now, let’s dive into the process of creating the perfect dream ring for your special someone!
How To ChooseThe Perfect Ring For Your Girlfriend
Alright, let’s break down the steps to get that dream ring just right!
1. Gather Inspiration: Before you even chat with a jeweler, it’s super helpful to have a collection of visual ideas.
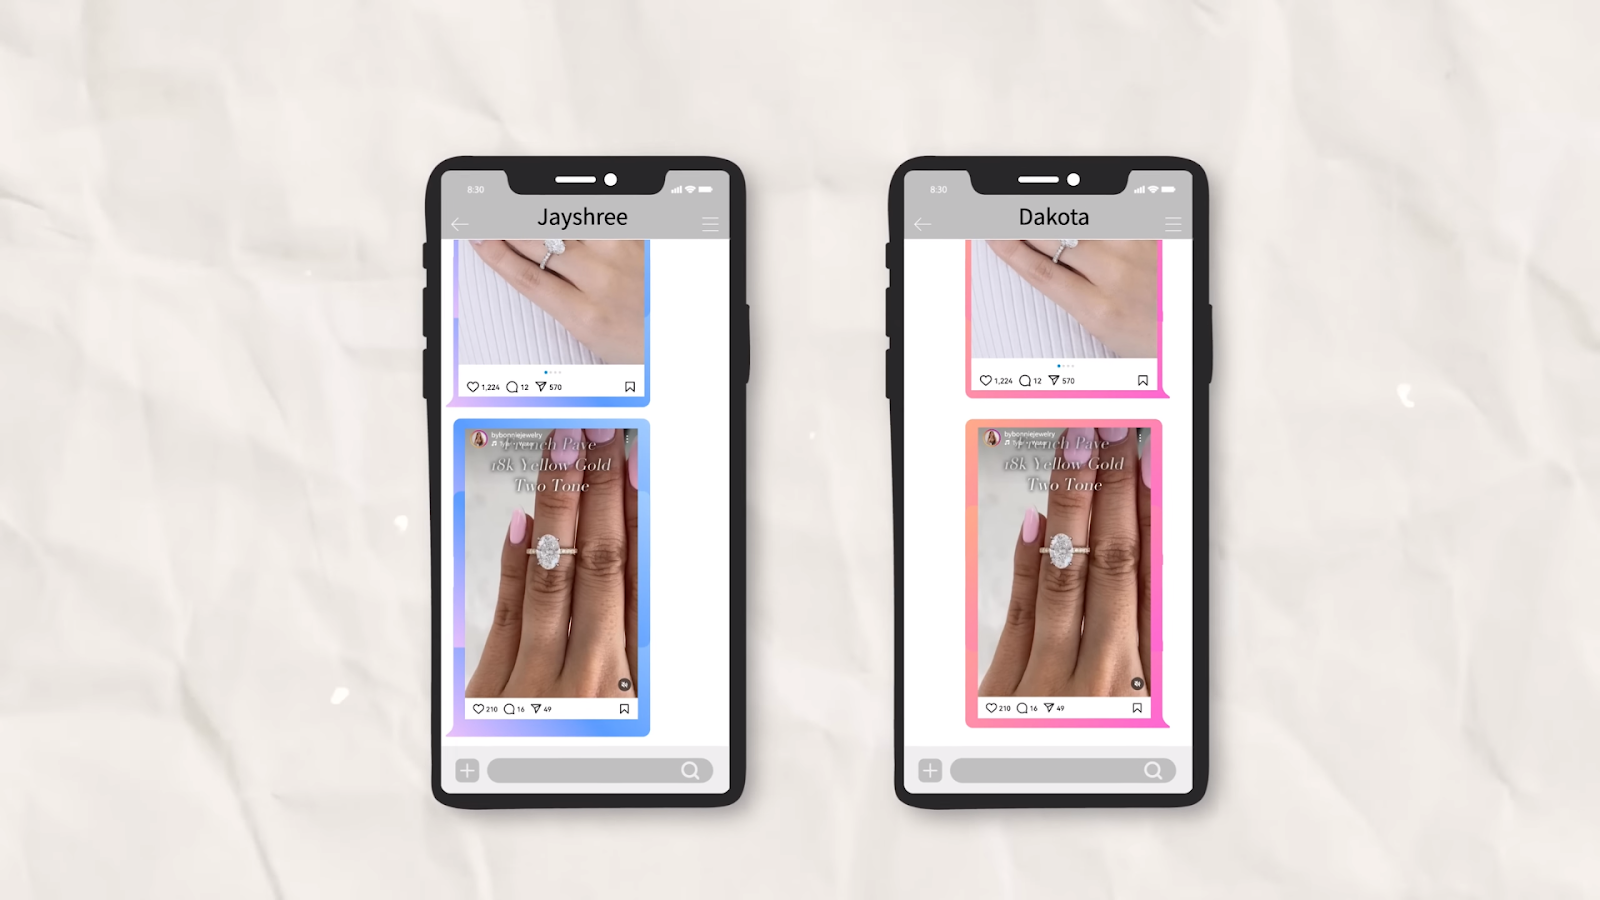

Think Pinterest, Instagram, TikTok—anywhere you’ve spotted inspiration for her dream ring. Screenshot, save, and share these visuals with your jeweler. It’s like creating a vision board!
2. Ring Size: Knowing her ring size is crucial. You want that magical moment to be perfect, so get the size right. If you’re unsure, enlist the help of a friend, sister, or mom. Or, while she’s sleeping, sneakily measure a ring she wears on that finger. If you need tips on how to do this, just let me know!
3. Diamond Shape: Choose the diamond shape wisely. If you’re unsure, stick to classic shapes like round or elongated.
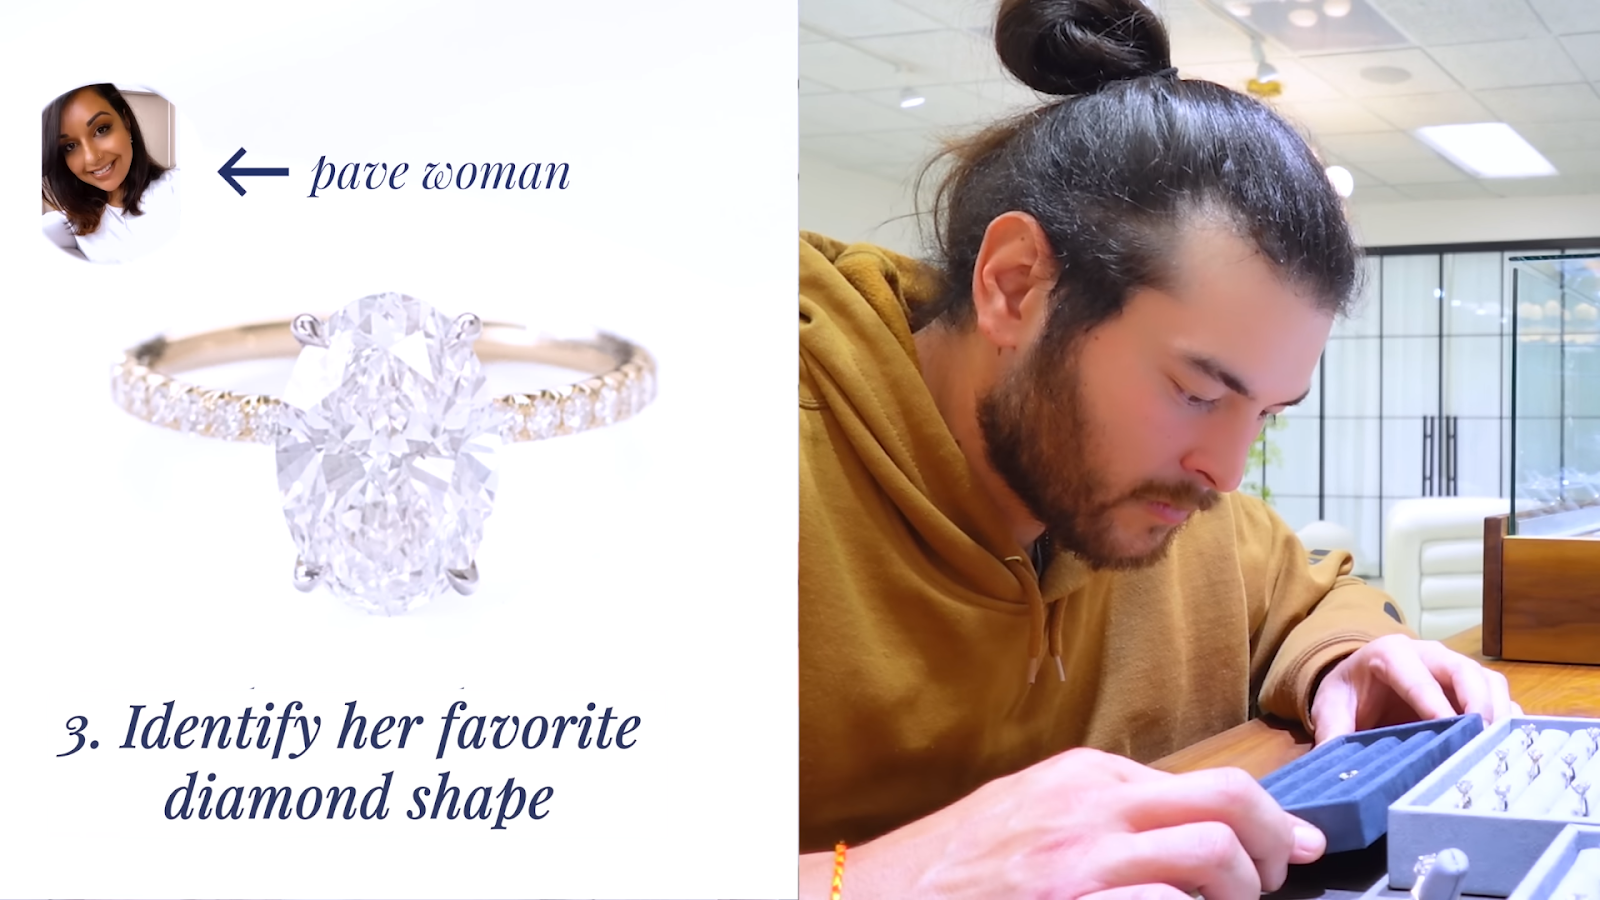

Consider her finger shape—longer fingers often look great with elongated diamonds, while round diamonds are timeless. Avoid any shape that’s out of the blue unless she’s mentioned it before!
4. Ratio: For elongated diamonds, the ratio is key. It determines how big the stone appears. It’s a vital detail, so make sure you get it right!
5. Metal Color: The metal you choose affects both style and durability. I’ve done a whole blog and video on white gold vs. platinum—definitely worth checking out, especially if she washes her hands a lot or works in a field where that matters.
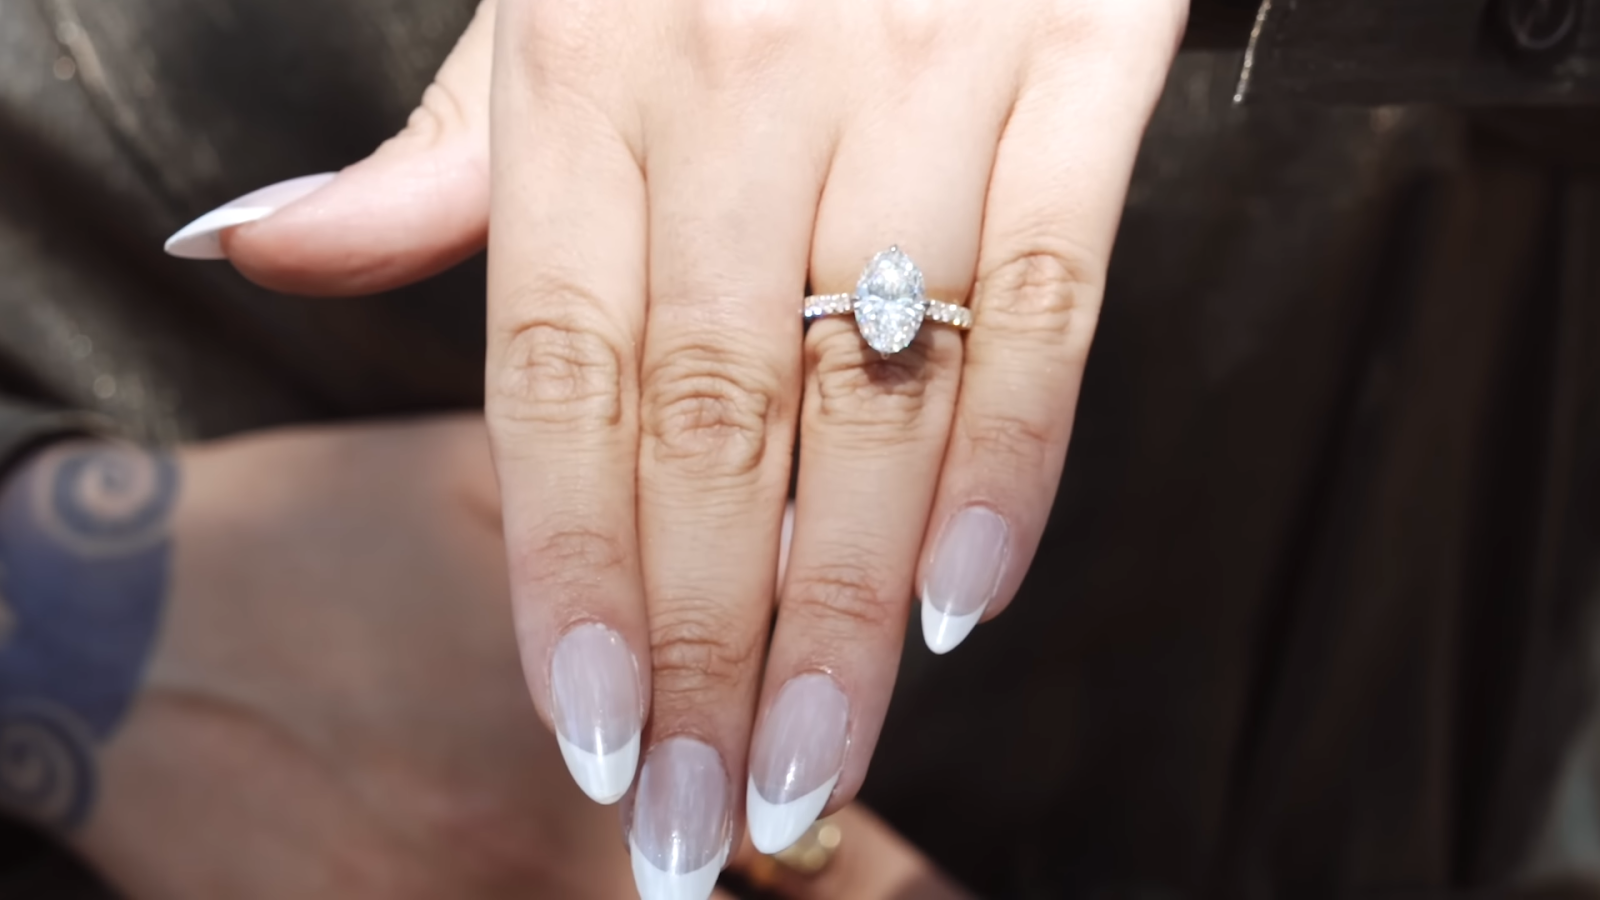

In Dakota’s case, he wanted a gold ring to honor her heritage but also wanted the white diamond to stand out. Two-tone options can be stunning and practical, so don’t overlook them!
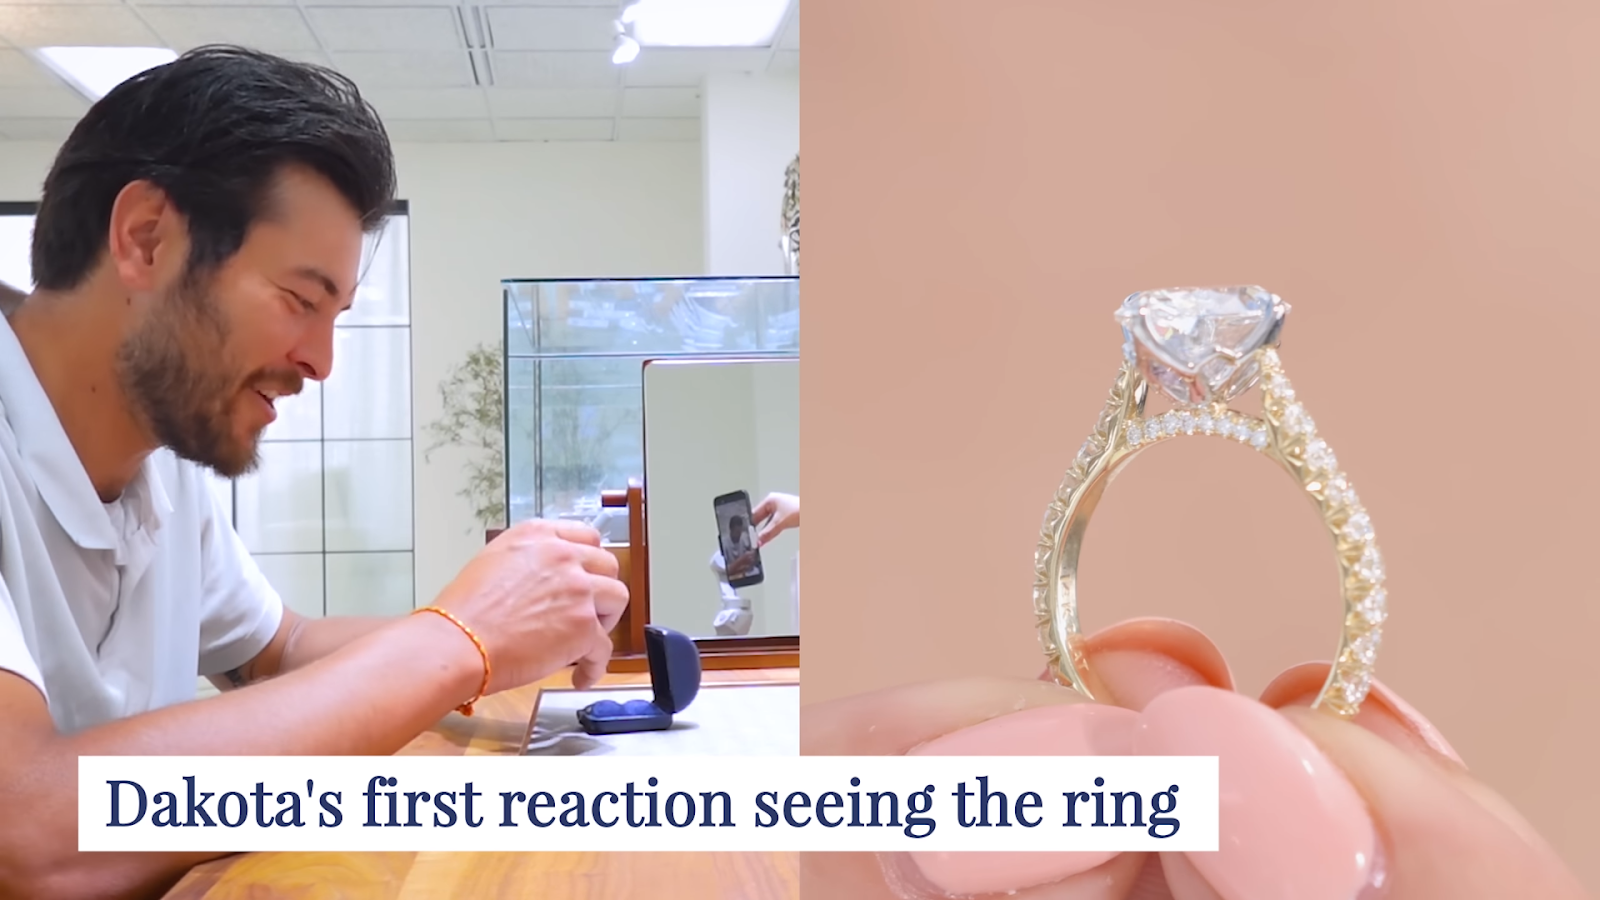
With all these details nailed down, we guided Dakota through every step of the process. And now, let’s see his reaction to the ring!

GelxDaddy’s Engagement
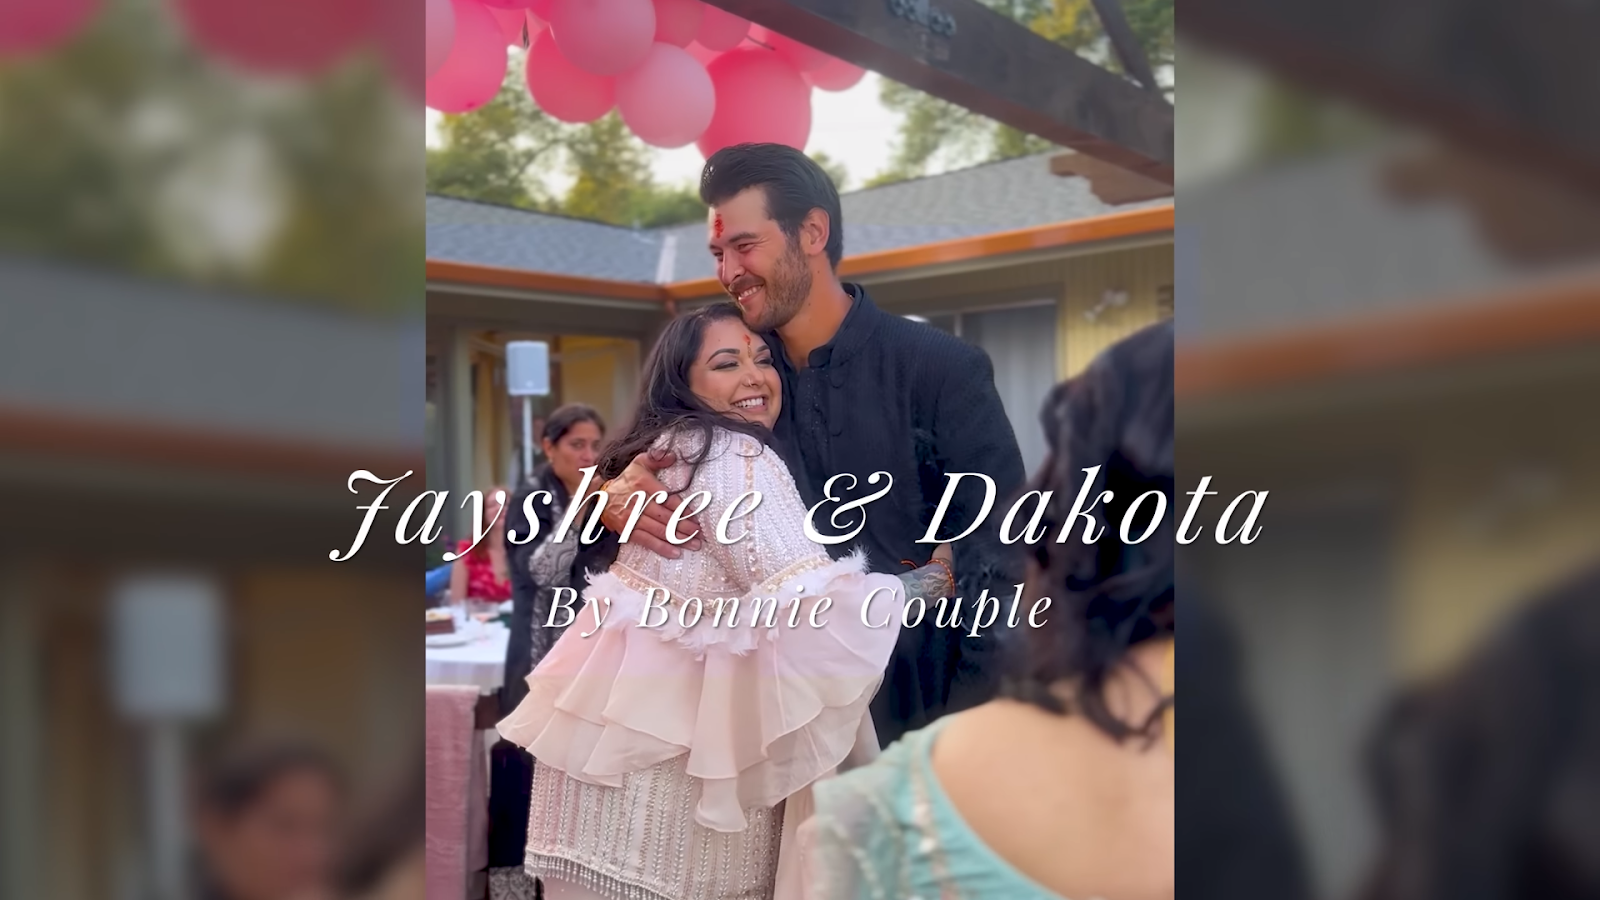

Congratulations to Jesse and Dakota! I’m thrilled to have been part of this beautiful journey. It’s been such a joy to be involved in this special moment. Thank you for letting me share in this magical experience!


